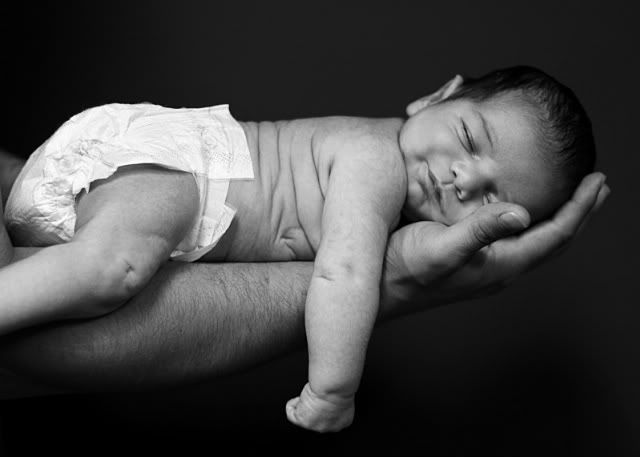
Or like this?

Practice? Actually no, you just need to learn how to compose. What the heck is compose? Well if you learn a few key rules of composition and mix that with your creative genes, you are sure to get shots like these and better!
I'm going to slim down the rules of composition into 3 simple rules! Remember almost all rules are meant to be broken, but ONLY after you understand and master them! So here are the 3 Simple "Guidelines" of composition.
Rule #1 - The Rule of Thirds
When you are taking a picture, you should have this invisible grid in your mind. This grid is there to help you compose a more attractive picture. The focal point of your picture should end up on one of the green dots, (where the lines intersects).
Also the rest of the important focal point should also fall on one of the lines.

My example shows that this woman is the most important part of the photograph and even more important is her face.
Also don't forget, when taking pictures of horizons, (like sunsets and sunrises), you should really use the rule of thirds. Put the horizon on one of those horizontal lines (you decide exactly which one, depends on the photograph.)
Rule #2 - Less is more
As you can see from the pictures above (and even from the previous post,) there are only a few things in the photograph, usually only one!
When taking Portraits, it is VERY important to GET CLOSE!
Too many things going on in a photograph can be very distracting and ultimately lead to an unsuccessful photograph. (What is a unsuccessful photograph you ask? A photograph where the intended message is not communicated.)
So unless your message is to show a messy and clutter lifestyle or something along those lines, leave clutter out! So FOCUS in on a few, usually ONE important subject.
It's better to take a bunch of photographs, then trying to be lazy and taking one photograph with a bunch of things in it! Think about it...
Last Rule is
#3 - Spacing
When taking a photograph of someone or something (especially when they are moving), it is best to have "empty" space in front of them. (Where they are facing.)
Take this photograph:

As you can see there is "empty" space in front of her. (I write, "empty" because there is still things there, it's not completely blank, but you get the point.)
And that's it!
I hope I taught you a little more about composing the perfect picture.
:)
There are BOOKS and BOOKS about this stuff, so this is really really simplified for your benefit. I just choose 3 Rules I think is important to follow, but remember they are guidelines. Experiment! Keeping Shooting! & Have fun!
-Happy shooting!


